


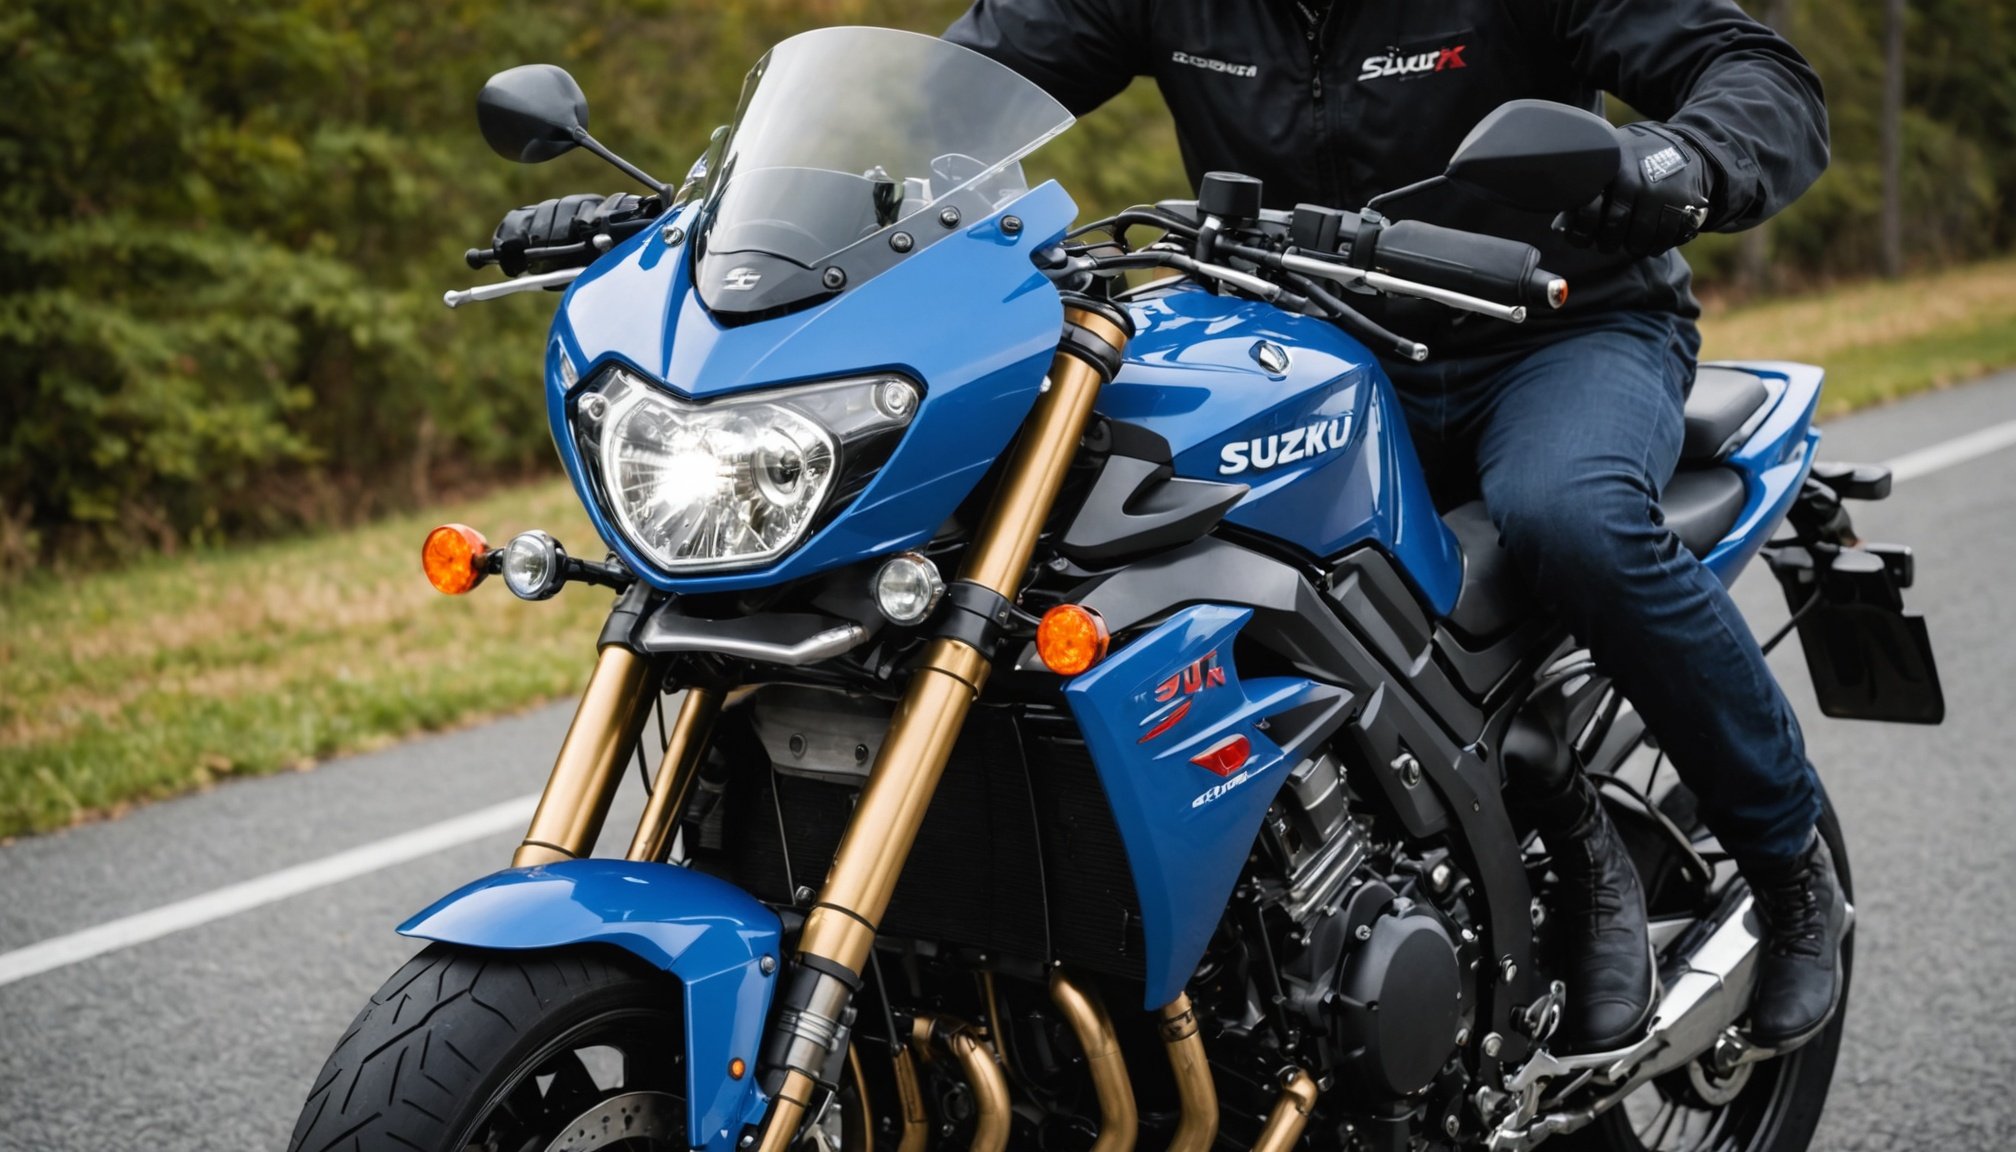
Overview of the Suzuki SV1000 Headlight System
The Suzuki SV1000 headlight system is an integral component of motorcycle safety and visibility. The headlight assembly comprises a durable housing, reflector, and a bulb that usually falls into either halogen or LED categories. Precise knowledge about the bulb type is essential for proper motorcycle headlight replacement.
Maintaining the headlight in peak condition is crucial for safe riding. Basic motorcycle maintenance ensures optimal illumination, improving visibility at night and during adverse weather conditions. Neglected headlights can reduce a rider’s ability to detect road hazards and other vehicles, heightening the risk of accidents.
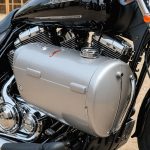
This might interest you : Ultimate diy tutorial: installing a new fuel tank on your harley-davidson road king classic
Common issues related to bulb failure include dim lighting and flickering, often caused by inadequate electrical connections or worn-out bulbs. Symptoms like these demand immediate attention, as they directly impact the bike’s operational safety. Regular inspection can spot potential problems early, enabling timely intervention and reducing the need for complex fixes. Properly maintaining the Suzuki SV1000 headlight system prevents these problems, ensuring that the path ahead is always well-illuminated. As riders explore motorcycle headlight replacement options, focusing on durability and lighting quality guarantees long-term satisfaction and safety.
Required Tools for Headlight Bulb Replacement
When embarking on a motorcycle headlight replacement, having the right tools on hand is crucial for a smooth process. The tools for motorcycle maintenance you’ll require largely depend on the design of your Suzuki SV1000.
Also to see : Boost your kawasaki versys 650”s mileage: key maintenance hacks for optimal performance
Essential Tools List
- Screwdrivers: A Phillips-head and flat-head screwdriver are often essential for removing screws on the headlight assembly.
- Socket Wrench: Needed for bolts that fix the headlight in place.
- Needle Nose Pliers: Useful for handling small connectors and clips without damaging them.
- Gloves: To protect your hands and avoid oils from your skin contaminating the bulb.
Recommended Brands
For those considering a purchase, brands like Craftsman and Stanley are renowned for durability and efficiency. They provide a good balance between cost and quality, ensuring that every headlight replacement tool is a worthy investment.
Efficient Tool Gathering
Organise your tools in an accessible manner before starting. A portable toolbox can help in ensuring everything is within reach, reducing time wasted in unnecessary delays. This makes the minimal tools for bulb change not just efficient but straightforward, paving the way for a hassle-free motorcycle headlight replacement.
Step-by-Step Guide to Remove the Old Bulb
Embarking on a DIY motorcycle maintenance journey to remove the old bulb from your Suzuki SV1000 is both practical and rewarding. With the right steps, you’ll achieve this effortlessly.
Preparing the Motorcycle
Ensure the motorcycle is turned off, and the keys are removed. Secure the bike on a stable platform or use a kickstand to prevent any movement. This foundational step in removing the motorcycle headlight bulb guarantees safety throughout the process.
Accessing the Headlight
You’ll need to reach the headlight unit before accessing the bulb. Gently detach securing screws using appropriate tools from your minimal tools for bulb change kit. Pay attention to the wiring, and disconnect connectors carefully to avoid damage.
Removing the Old Bulb
With tools ready and headlight accessible, securely grasp the worn bulb to twist and extract it from the assembly. Follow the step-by-step bulb removal method, which involves an anticlockwise twist for most models. Ensure minimal contact with the bulb surface to prevent oils from transferring.
Completing the process with caution and precision maintains safety and preps the headlight for its new bulb assembly. By focusing on clarity, understanding, and accuracy, you’ll execute a seamless bulb removal.
Installing the New Headlight Bulb
Embarking on the journey of installing a motorcycle headlight bulb for the Suzuki SV1000 can be as straightforward as understanding the bulb installation guide process. Once the old bulb is out, insert the new bulb by aligning it with the slots in the headlight assembly. Make sure it’s firmly in place to avoid any potential shifting during rides.
Inserting the New Bulb
It’s essential to handle the bulb cautiously; contact with bare skin should be avoided to prevent oils from affecting bulb longevity. Carefully position the bulb, ensuring a snug fit within the assembly.
Securing the Headlight Assembly
With the new bulb inserted, reattach the headlight assembly by re-securing any screws or clips removed earlier. Properly securing the unit is vital for maintaining effective illumination and preventing vibrations from disturbing the headlight’s position.
Testing the New Bulb
Finally, test the new bulb to confirm it’s functioning correctly. Turn on the headlights and check for consistent, bright illumination. Ensuring everything is operational confirms the bulb replacement steps were successful, solidifying the effectiveness of your bulb installation guide efforts. With these steps, you contribute to enhanced riding safety and visibility.
Safety Tips and Troubleshooting
Ensuring motorcycle safety, while replacing the headlight, is paramount. Begin by donning protective gloves and eyewear. This protects against electrical shocks and bulb breakage. It’s vital to ensure the motorcycle remains stable during maintenance, as an inadvertent tip-over could cause injuries or damage.
When encountering common bulb problems, check the wiring connections first if the new bulb isn’t functioning. Secure any loose connections, as these are often the culprits. Test the bulb again, ensuring it’s seated properly within the headlight assembly. If issues persist, inspect the fuse box for blown fuses.
For effective troubleshooting headlight issues, keep a multimeter on hand. This tool helps determine if there’s adequate voltage reaching the headlight terminal. A lack of voltage suggests electrical faults elsewhere in the system, requiring further investigation.
To prevent future headlight issues, incorporate routine inspections into your motorcycle’s maintenance schedule. Clean the headlight lens to avert dimming caused by grime buildup. Properly address any flickering or dim lighting signs promptly, replacing components as needed to maintain optimum safety on the road.
Alternatives for Headlight Bulbs
Exploring bulb replacement options offers insight into customising your Suzuki SV1000’s headlight system. Understanding the different types of motorcycle headlight bulbs available helps in making informed decisions about visibility and performance.
LED vs Halogen
LED bulbs are renowned for their long lifespan and energy efficiency. They emit brighter light and, compared to halogen bulbs, provide improved visibility, particularly beneficial for night riding. However, they generally come at a higher initial cost. In contrast, halogen bulbs are typically more affordable and easier to install, making them a practical choice for those prioritizing budget-friendly options. Yet, they lack the longevity of LEDs and may not deliver as intense illumination.
Pros and Cons
Consider the following when choosing between LED and halogen bulbs:
-
LED Bulbs:
-
Pros: Long lifespan, brighter illumination, energy efficiency.
-
Cons: Higher cost, potential compatibility issues.
-
Halogen Bulbs:
-
Pros: Affordable, easy installation.
-
Cons: Shorter lifespan, less intense light output.
Selecting the best bulb option requires assessing whether priorities lie in cost, visibility, or both. Understanding the specific lighting needs will guide you towards the right choice for your motorcycle headlight replacement.